Decorated eggs are a beloved part of Easter traditions. In many families, time-honored methods are passed down through generations — some even dating back to great-grandmothers.
So, if you’re planning to dye eggs this year, it’s important to prep them properly. Take the eggs out of the fridge about 40–60 minutes beforehand to prevent cracking during boiling. Seasoned home cooks swear by giving the eggs a gentle wash, wiping them down with vodka (yes, really!), and even pricking the shell with a fine needle to keep them from bursting.
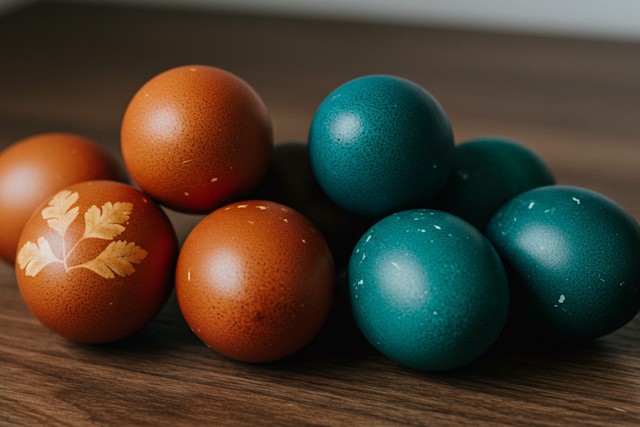
Once the eggs are boiled and dyed, and the shells are dry, give them a light rub with vegetable oil to add a beautiful, glossy shine. At AdmiGram.com, we’ve rounded up everything you need to know about using natural dyes to create beautifully vibrant Easter eggs — no artificial colors needed! Share these tips with friends and make this Easter one to remember.
Dyeing Easter Eggs Naturally: A Rainbow from the Kitchen
If we’re being honest, the color range with natural ingredients is a bit more limited than store-bought kits — but the results are often more beautiful and meaningful. You don’t need fancy materials — just a few simple, time-tested tricks from grandma’s kitchen.
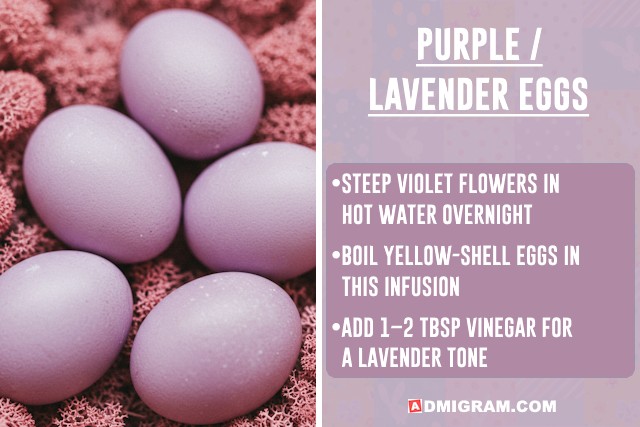
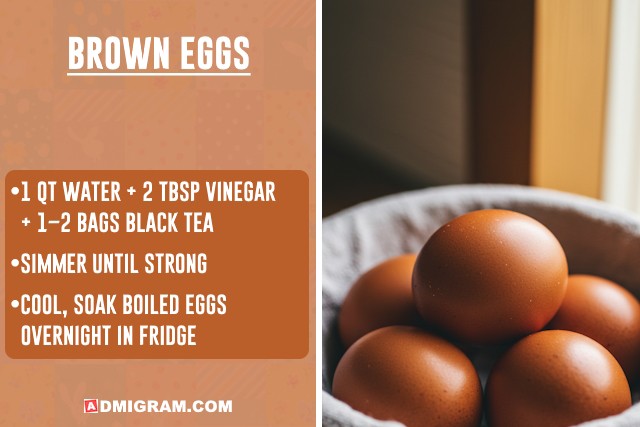
With the right ingredients, you can achieve rich and earthy shades of: deep burgundy, classic red, soft pink, sunny yellow, fresh green, sky blue, navy blue, lavender purple, warm brown. These natural tones bring both beauty and tradition to your Easter celebration.